10 Easy Steps to Make Beef Jerky in a Food Dehydrator
If you’ve ever wanted to make your own beef jerky at home, using a food dehydrator is a straightforward way to get there. Making beef jerky in a food dehydrator allows you to control the ingredients and flavors, ensuring a delicious and healthy snack. You’ll want to start by choosing the right cut and preparing it properly to guarantee the best texture and flavor.
From slicing to marinating and drying, each step plays a vital role in the final product. But what exactly does the process involve, and how can you make sure your jerky turns out just right? Follow these easy steps to make beef jerky in a food dehydrator and enjoy a tasty, homemade treat.
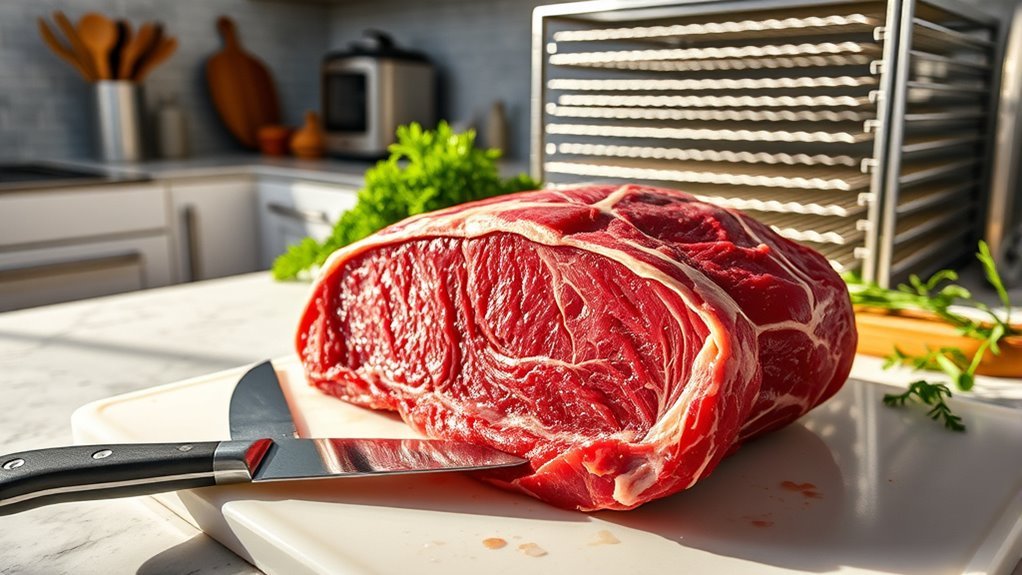
Choose the Right Cut of Beef
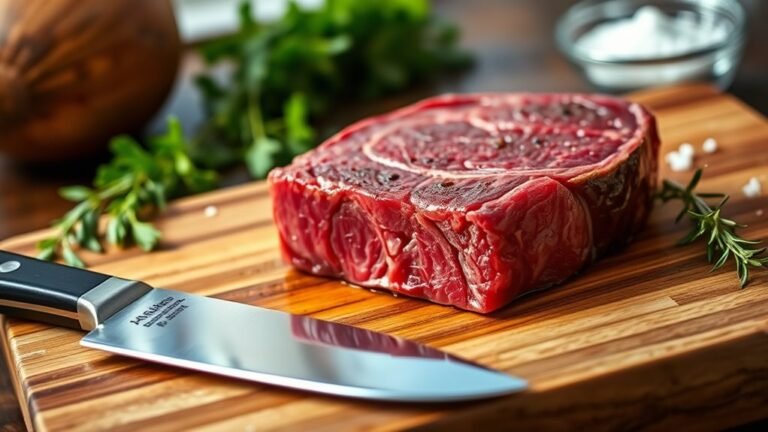
Choosing the right cut of beef is essential for making delicious jerky. You want a lean cut with minimal marbling to guarantee your jerky dries evenly and lasts longer. Top choices include eye of round, sirloin tip, and flank steak.
These cuts are affordable and have a firm texture that’s perfect for slicing thinly. Avoid fatty cuts like ribeye or brisket since fat doesn’t dehydrate well and can cause spoilage.
When buying, look for fresh meat with a bright red color. If possible, ask your butcher to trim it down to a single, uniform piece, making slicing easier.
Picking the right cut sets the foundation for great jerky, so take your time selecting beef that fits these criteria.
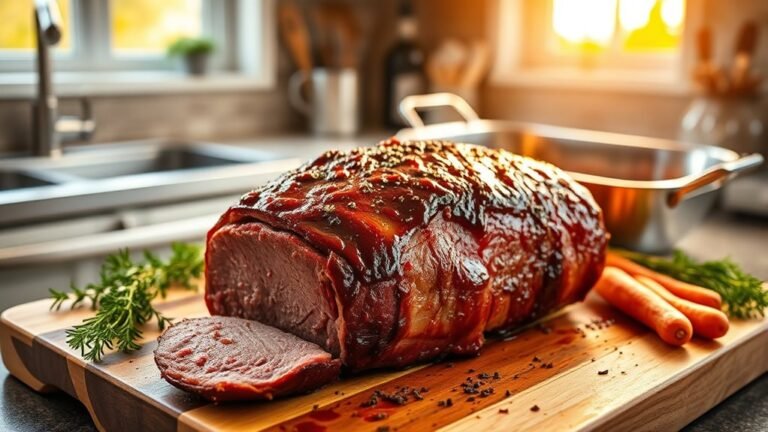
Trim Excess Fat From the Meat
Before drying your beef, remove all visible fat to make certain the jerky lasts longer and doesn’t spoil. Fat can turn rancid during dehydration, affecting flavor and shelf life.
Follow these steps to trim excess fat effectively:
- Lay the beef flat on a clean cutting board.
- Use a sharp knife to carefully cut away any white or yellowish fat layers.
- Trim both large fat chunks and thin streaks evenly distributed through the meat.
- Avoid removing too much meat; focus solely on visible fat to maintain texture and protein content.
Freeze the Meat for Easier Slicing
If you want clean, even slices for your jerky, freeze the meat for about 1 to 2 hours until it firms up but isn’t completely frozen solid. This slight firmness makes the meat much easier to handle and slice thinly without it slipping or tearing.
When the meat is partially frozen, your knife will glide through more smoothly, giving you consistent strips that dry evenly. Just keep an eye on the time to avoid freezing the meat hard; fully frozen meat is tougher to cut and can dull your blades.
Once it reaches the right firmness, remove it from the freezer and prepare to slice promptly. This step ensures your jerky will have the perfect texture and look professional every time.
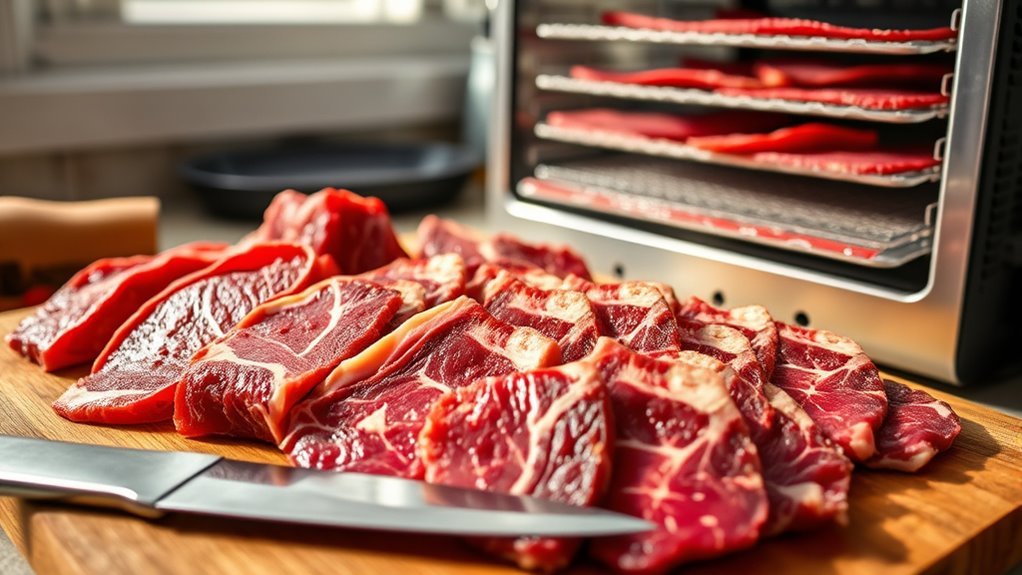
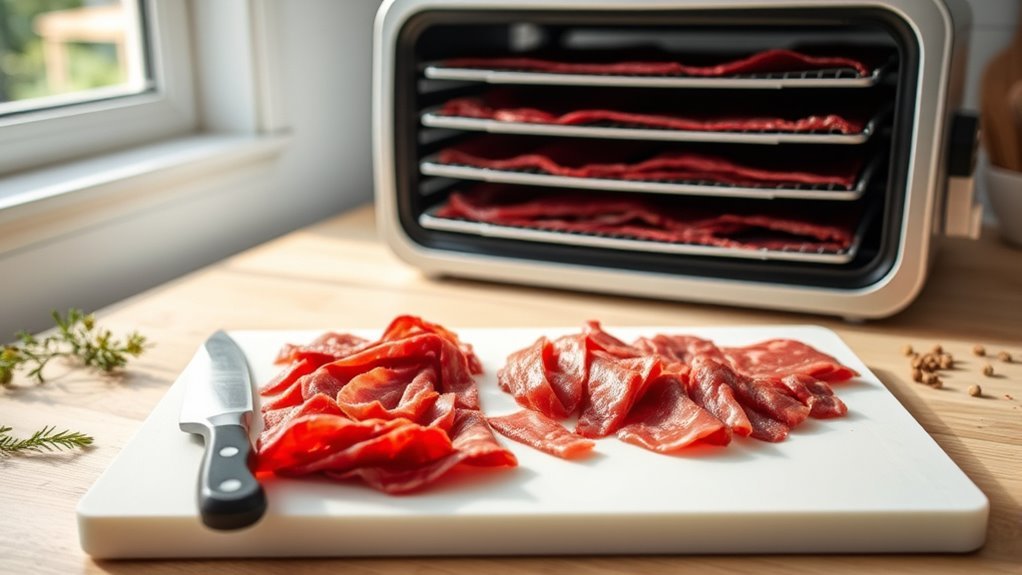
Slice the Beef Into Thin Strips
Once the meat has reached the ideal firmness, slice it against the grain into thin strips about 1/8 to 1/4 inch thick to guarantee your jerky turns out tender and easy to chew.
To slice efficiently:
- Use a sharp knife to ensure clean, precise cuts.
- Hold the meat firmly to maintain control while slicing.
- Cut against the grain to break down muscle fibers for tenderness.
- Keep slices consistent in thickness to promote even drying.
Prepare a Flavorful Marinade
How do you give your beef jerky that irresistible taste? It all starts with preparing a flavorful marinade. Combine soy sauce, Worcestershire sauce, and a touch of honey or brown sugar to balance savory and sweet notes.
Add minced garlic, onion powder, black pepper, and smoked paprika for depth and a subtle smoky kick. Don’t forget a splash of apple cider vinegar or lime juice to tenderize the meat while boosting flavor.
Customize with red pepper flakes or hot sauce if you like heat. Mix all ingredients thoroughly in a bowl to guarantee even distribution. This marinade will infuse your beef strips with rich, layered flavors, setting the foundation for delicious jerky once you move on to marinating them overnight.
Marinate the Beef Strips Overnight
After mixing your marinade to perfection, it’s time to soak the beef strips so they can absorb all those bold flavors. Marinating overnight ensures your jerky is flavorful and tender. Here’s how to get it right:
- Place the beef strips in a resealable plastic bag or a shallow dish.
- Pour the marinade over the strips, making sure each piece is fully coated.
- Seal the bag or cover the dish tightly with plastic wrap to prevent air exposure.
- Refrigerate the beef strips for 8 to 12 hours, turning the bag or stirring the strips halfway through to distribute the marinade evenly.
This step enhances flavor penetration, setting your jerky up for delicious results once dehydrated.
Arrange the Strips on the Dehydrator Trays
While the beef strips are still cool and well-marinated, lay them out carefully on your dehydrator trays to guarantee even drying. Make sure each strip lies flat without overlapping or touching others, as this allows air to circulate freely around every piece.
Overlapping can cause uneven drying and may result in some strips being under-processed or retaining moisture. Arrange the strips in a single layer, leaving a little space between each one.
If your strips vary in thickness, place the thinner ones near the outer edges where airflow is stronger. Avoid crowding the trays to maintain consistent results.
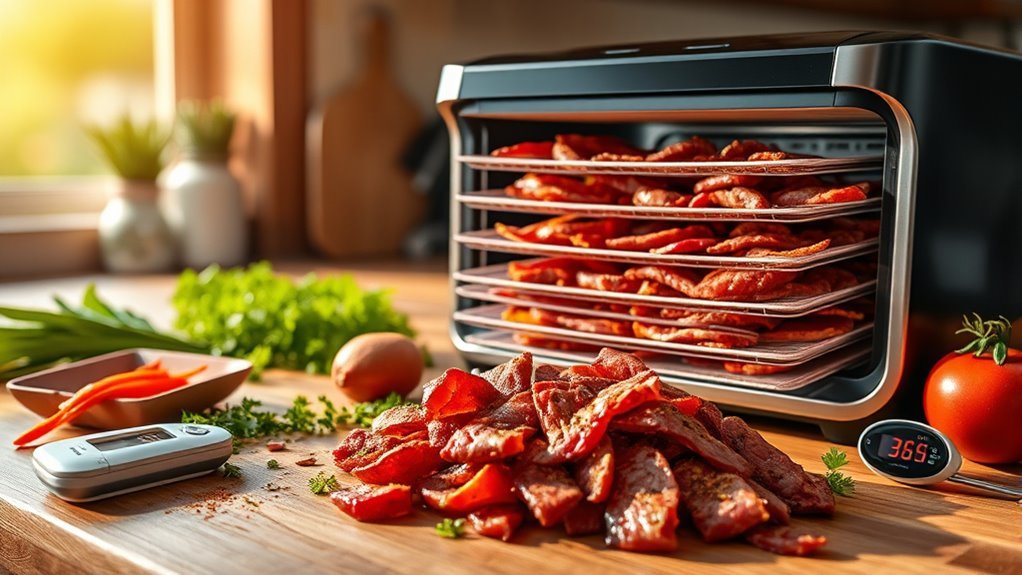
Set the Dehydrator Temperature and Time
Once you’ve arranged the beef strips properly, you’ll need to set the dehydrator to the right temperature and time to guarantee safe and effective drying. Most food dehydrators have a temperature range suited for jerky, usually between 145°F and 160°F.
Setting the correct temperature *assures* harmful bacteria are eliminated while preserving flavor.
Follow these steps:
- Set the temperature to 160°F (71°C) for safety.
- Program the timer for 4 to 6 hours, depending on thickness.
- Avoid opening the dehydrator frequently to maintain steady heat.
- Adjust time if strips are thicker or thinner than usual.
Check for Desired Dryness and Texture
Properly setting the temperature and time helps guarantee your beef jerky is safe, but the real test comes when you check its dryness and texture. Once the dehydrating cycle ends, take a piece and let it cool slightly.
Setting the right temperature and time is key, but checking dryness and texture ensures perfect beef jerky.
Bend the jerky gently; it should be flexible enough to bend without breaking but dry enough to crack slightly. If it feels too moist or chewy, it needs more time in the dehydrator. Conversely, if it snaps immediately, it’s overdone and might be too brittle.
Remember, thickness affects drying time, so adjust accordingly. Checking several pieces ensures uniform dryness. Achieving the perfect texture is vital for enjoying your jerky, so don’t rush this step.
If needed, dry your jerky in additional intervals, checking frequently to avoid over-drying.
Store the Finished Beef Jerky Properly
After drying your beef jerky to the perfect texture, you’ll want to store it correctly to maintain its flavor and prevent spoilage. Proper storage keeps your jerky fresh and ready to enjoy whenever you want.
- Let the jerky cool completely before storing to avoid condensation.
- Use airtight containers or resealable plastic bags to keep moisture out.
- Store the jerky in a cool, dark place like a pantry for short-term use.
- For long-term storage, refrigerate or freeze the jerky to extend its shelf life.
Following these steps helps preserve your jerky’s taste and texture, ensuring it stays delicious and safe to eat. Proper storage is key to enjoying your homemade beef jerky over weeks or even months.
Frequently Asked Questions
Can I Use a Microwave Instead of a Food Dehydrator?
You can use a microwave, but it’s tricky to get the right texture. It may cook unevenly and won’t dry as thoroughly as a dehydrator. For best results, stick with a food dehydrator instead.
How Long Does Homemade Beef Jerky Last Without Refrigeration?
Your homemade beef jerky lasts about 1 to 2 weeks at room temperature if stored in an airtight container. For longer storage, keep it refrigerated or freeze it, which can extend its shelf life for months.
Is It Safe to Eat Beef Jerky Made From Frozen Meat?
Yes, you can safely make beef jerky from frozen meat if you thaw it properly first. Don’t skip thawing because uneven drying might occur, increasing the risk of bacteria growth and spoilage.
What Are Some Common Food Safety Tips for Making Beef Jerky?
Think of food safety as a sturdy fence protecting your jerky. You should always marinate in the fridge, slice meat thinly, preheat to kill bacteria, and dry at proper temps to keep your jerky safe and tasty.
Can I Substitute Turkey or Chicken for Beef in Jerky Recipes?
Yes, you can substitute turkey or chicken for beef in jerky recipes. Just make sure you use lean cuts, marinate properly, and dehydrate thoroughly to guarantee safety and achieve that perfect chewy texture you want.
Conclusion
Now that you know how to make delicious beef jerky step-by-step, are you ready to enjoy your homemade snack anytime? With just a little prep—choosing lean cuts, marinating, and drying—you’ll have flavorful jerky that’s perfect for on-the-go or sharing with friends.
It’s easier than you think, and the results are worth every bite. So, why settle for store-bought when you can craft your own tasty, healthy jerky right at home? Making beef jerky in a food dehydrator ensures a convenient and efficient way to create this savory snack.
Embrace the process of making beef jerky with these easy steps, and enjoy a protein-packed treat that’s both delicious and nutritious.